Emma turned 12 on May 18. I am now the proud parent of a 12 year old and it's really quite nice to have an "almost" teenager. I don't buy into the "oh no, you have a teenager!" mentality. It simply doesn't have to be "that way". That's just about all I'm going to say about that. :-)
Emma decided she wanted to copy a birthday cake out of her American Girl magazine from several years ago (they really are worth keeping around!). So of course, since I let them both choose what dessert(s) they want for their birthday parties, I agreed to make it for her.
It's really pretty simple, but just takes a bit of time. If I were you, I'd try it sometime. It looks daunting but if you are patient, it will work out. Frosting is a layer-cake-baker's friend, let me tell you.
So here's what you do!
Mix up a plain white cake mix, out of a box - you can make it from scratch if you want to, but it's a bit easier sometimes to just use the box.
After mixing up the cake, split up the batter into 4 even amounts. I used my Pampered Chef 2-cup prep bowls - I'm so glad I got a couple sets of these before I stopped selling PC. Super love these bowls.
You'll color the batter in each bowl a different color - the recipe in the magazine said to use a couple teaspoons of flavored Jello in different colors, but instead of wasting Jello, I just used food coloring. Mr. (Ms.?) Wilton is also a baker's friend. I love him (her?).
 |
| Wilton is my friend... |
|
Make the 4 different colors of batter, and then bake each in a well-floured pan. I was reminded that well-floured means exactly that...well-floured. I have this great baking spray, that has flour already in it. I did not realize this until after the first two cakes were baked and they did not come out of the pans very well. I tried to spray them and then flour them - when all I had to do was liberally spray each pan with only the spray that contained flour. This flour spray works great. And, I'll say it again. Frosting is my friend when baking layer cakes. You'd never know that the first two layers came out terribly. I froze them on the rack for a bit first before wrapping them in saran wrap.
 |
| These pans were *not* floured nearly well enough. I shouldn't have used flour, just the flour-spray. |
 |
| Red and Orange cakes |
 |
| First two cakes didn't come out real well... |
 |
| Love my prep bowls!! |
 |
| The second two came out perfectly after cooling for a few minutes. |
After all 4 cakes are baked and cooled, you'll want to freeze them. Just wrap them up in saran wrap and let them freeze a while. I baked mine on Thursday and then assembled the cake on Friday. But if you only have a few hours that will do. Cakes are usually easier to frost when frozen - less crumbs. Also, once they are frosted and then thaw, they're nice and moist on the inside. We'll just call that a perk.
Next it's time to make the frosting. The recipe calls for cans of frosting, but I prefer to make my own. I made a buttercream frosting, and I made a lot since I wasn't sure how much I'd need to "fix" my layers that didn't bake well. Plus, with a layer cake, sometimes the layers aren't exactly perfectly sized, so you need some more frosting sometimes to make the cake look even.
After the frosting is made, you'll want to split it up into 3 portions - leave some white for the clouds, make some yellow for in between the layers, and make some blue for the outside of the cake. I rinsed out one of my 2-cup prep bowls and used it again for the yellow frosting. Have I mentioned how much I love these bowls? I also used my small batter bowl for the blue, since I need more blue than yellow.
 |
| Mixing up the blue sky frosting |
 |
| Not quite bright enough...let's add more color... |
 |
| Perfect. |
 |
| Beautiful! Frosting is fun. |
Now it's time to frost the cake.
Place your bottom layer on your cake serving plate. I got this cute little cake pedestal the last time I went to IKEA. I used to have a cake plate but didn't have room in my old kitchen for it. Now that I have room I decided it was time to have my cake plate again. Anyway, I also put a dab of frosting under that first layer, so when I frosted the cake it wouldn't slide all around. I put a little cloth-y thing under my pedestal so that I could turn it around easily and also to make sure I didn't scratch up my countertop. It's way easier to turn the cake around for frosting all around. You can also put your plate on a lazy susan if you want - I've done that before and it works great.
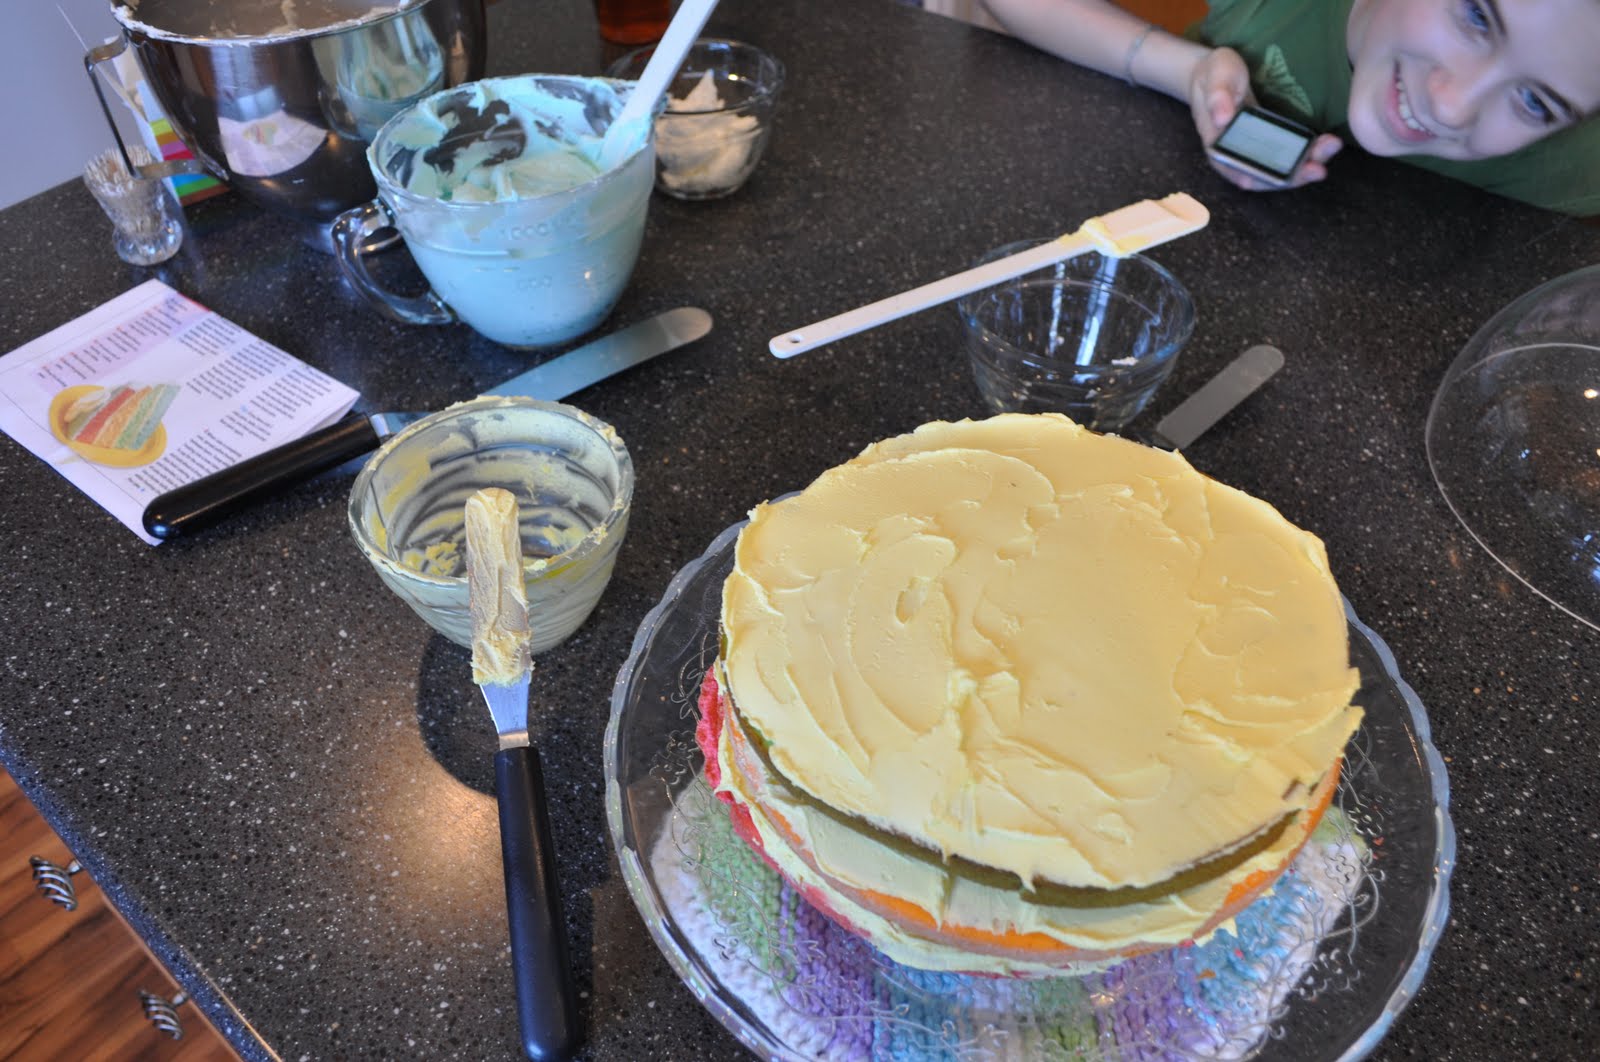
Then you'll frost the top (only) of the bottom layer with yellow frosting.
Then the next layer,
And so on.
You'll only need enough yellow frosting for the 3 bottom layers, since the top layer will be frosted with blue.
Next you'll frost the rest of the cake! It can be messy, but put a big glob on and start spreading. Do the top first, then the sides, then you'll smooth out the top again. You can glob some into the uneven places so the cake will look nice and even and smooth. You'd never know that my two bottom layers didn't turn out of the pans very nicely.
After the frosting is done, you can clean up the serving plate with paper towels (or whatever tool you want to use). Next comes the clouds - just spread some blobs of white frosting so that they look like clouds. I wasn't sure how mine would turn out, but I think they ended up looking fairly good. Any shape of clouds will do.
 |
| Birthday Girl |
 |
| Silly Birthday Girl. |
 |
| My example |
That's it. I left the cover off of the cake pedestal until after we cut the cake, since it would have touched the top layer and messed up my clouds. When we cut the cake to serve it, it was super moist and yummy. Layer cakes are slightly time-consuming, but are really simple to put together, so don't let yourself be overwhelmed by the prospect.
Emma's
other dessert (for Saturday's family birthday party) was really fun, elegant-looking, and easy to make too...stay tuned for that one.
Yum!